

Healthy Homemade Granola is a delcious and nutritious way to kick your day off on the right foot. This recipe is SO delicious, and SO easy! Whip up a batch today!

(This post may contain affiliate links. Using these links may result in a small commission for me at no extra cost to you. Thank you! Read my full disclosure here.)
I don’t know about you, but the older I get (I’m 42! shhh!) the more I care about what I put into my body and how it affects the way my body functions and feels.
That’s probably because I’m already starting to feel some of the aches and pains that come with getting up there in years. So I’ve definitely started gravitating toward healthier options as my food choices.
Whole grains, healthy fats, fruits and veggies, natural sugars… minimally/non- processed items. All things that speak “the good life” to my heart and soul. And it’s a double bonus if it’s something we’ve grown/produced on the farm! 😉
Start Your Day the Healthy Way
I particularly enjoy starting off my day with some feel-good food. It sets the tone for a good and wholesome day. Whatever that may include.

Cereal is probably my most frequent go-to for breakfast because it’s fast and simple. I do love my whole grain waffles and homemade breakfast toaster. But they take a little more time and effort–two things I’m often short on in the morning schedule.
Cereal also feels cool and refreshing (due to the milk). And if you know anything about the Texas gulf coast region… ‘cool and refreshing’ is something we need pretty much 365 days of the year. So that’s another reason I thoroughly enjoy cereal in the morning. (And why I will often eat it as a snack during the day as well! 😝)
But so many cereals that you find at the store are just LOADED with crazy unhealthy levels of sugars, or artificial colors, or processed this and that. I steer clear of those. No thank you!
There are a few store bought cereals that I do enjoy (you know… the small handful of them that don’t have all that artificial garbage). But, by far, my favorite cereal option is homemade granola. I love it because 1) I know all the healthy goodness that is going into it, 2) it’s cereal (see all noted reasons to love above), and 3) it keeps me full ALL morning long (as opposed to other cereals that will leave me hungry again in an hour).
Love Love Love.
Healthy Ingredients = Healthy Homemade Granola
This homemade granola is FULL of awesome nutrition.
In this healthy line-up we’ve got whole grain oats, unsweetened coconut, extra-virgin coconut oil, nuts, seeds, raw/natural honey, and cinnamon.

Whole grain oats are so super good for you! They nourish your gut and help to increase good cholesterol and reduce the bad. They provide plenty of soluble fiber, and are loaded with vitamins, minerals, and antioxidants. And they are actually one of the most nutrient-dense foods you can eat! (Check out more information on the amazing nutrition of oats in this article.)
The coconut, oil and nuts/seeds provide the healthy fats, as well as protein. Healthy fats help to keep you feeling full, and also provide a good source of energy for your body.
The natural, raw honey gives just the right amount of sweetness while providing some natural antioxidants. Honey also won’t spike blood sugar levels the same way processed sugar does. But it is still a sugar, so you still want to be wise in your consumption amounts.
And cinnamon! Well, yes… it’s yummy. But did you know that cinnamon is also very good for you?! For thousands of years, people have used cinnamon for its medicinal properties! It has lots of antioxidants and anti-inflammatory properties that are great for your body. (You can read more about that here.)

So, people!… have your granola, and eat it too! This stuff is GOOD and good FOR you!
Oh, and just as a side note… this granola is also gluten-free, if that happens to be a need for you or your family.😉
How to make Homemade Granola
I’ve been making my own homemade granola for years now. And although I’ve tried a few different recipes or twists, this recipe is my all-time favorite that I keep coming back to. No need to mess with awesomeness.
And even better… it’s REALLY easy to make. Really.
Mix, Mix, Mix
We’re going to start by adding all of our ingredients into a large mixing bowl. I generally add the oats, nuts, coconut, cinnamon and salt first. Give it a quick mix. Then I add my melted coconut oil, honey, and vanilla last.

Aaaannnnnd…. mix it mix it mix it!
Keep on keepin’ on with that mixing until every last little oat is evenly covered with the oil and honey.
Nuts and Seeds
A tip about the nuts and seeds… if you are using some that have already been toasted (i.e. roasted), you will actually want to leave them out of the mixing bowl for the time being. They will get added later (half-way through the baking process). If you add them now, they will get a little too toasted and can take on a bitter (or burnt) taste.
PS. My favorite nuts and seeds to use in this recipe are almonds, pecans, and pepitas (pumpkin seeds). But you could also try walnuts, sunflower seeds, or any other nuts/seeds that are your favorites.
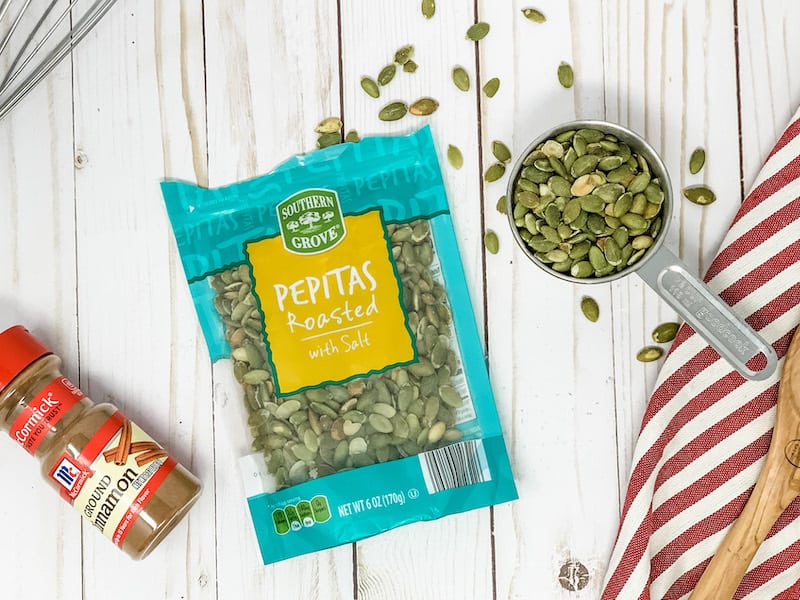
When I make my homemade granola, I use almonds and pecans that are not already toasted. But the pepitas I use are generally already toasted. So I add my chopped almonds and pecans at the beginning to my mixing bowl (with all the other ingredients), and save the pepitas to be added half-way through the baking time. Savvy?
Bake It Up
After you’ve got everything wonderfully mixed, spread the mixture evenly on a baking sheet lined with parchment (or a silicone mat… which is what I use).

Do not try to do this directly on the baking sheet, or you will not be loving life when it’s time to scoop the cooled granola off the sheet. Just sayin’.
We’re gonna bake this at 350 F for 20-24 minutes, but only set your timer for half the time. (I set mine for 12 minutes.)
After the timer goes off, if you’ve got any toasted nuts you need to add, you will do that at this time. But even if you don’t need to add any nuts, you still need to stop and stir the granola at this time so that the edges don’t burn.
So add the nuts, gently mix it in, stirring up the granola in the process (make sure the granola on the edges gets brought in and re-dispersed), and then spread everything back out evenly again.
And here’s another tip… if you like for your granola to have clumps in it, then after you have stirred the granola at the half-way mark, give the granola a good ‘smoosh down’ to kinda pack it tight. Then let it keep baking.

Bake the granola for the remaining time (I do another 10-11 minutes at this point), and then promptly remove it from the oven when it is golden brown. (Watch it carefully to make sure the edges do not start to burn.)
Cool It Down
Allow the granola to cool for 45-60 minutes. And again… if you like clumps in your granola, you need to let it cool without disturbing it. (If you don’t like clumps, you can give the granola a stir as it cools to break things up.)
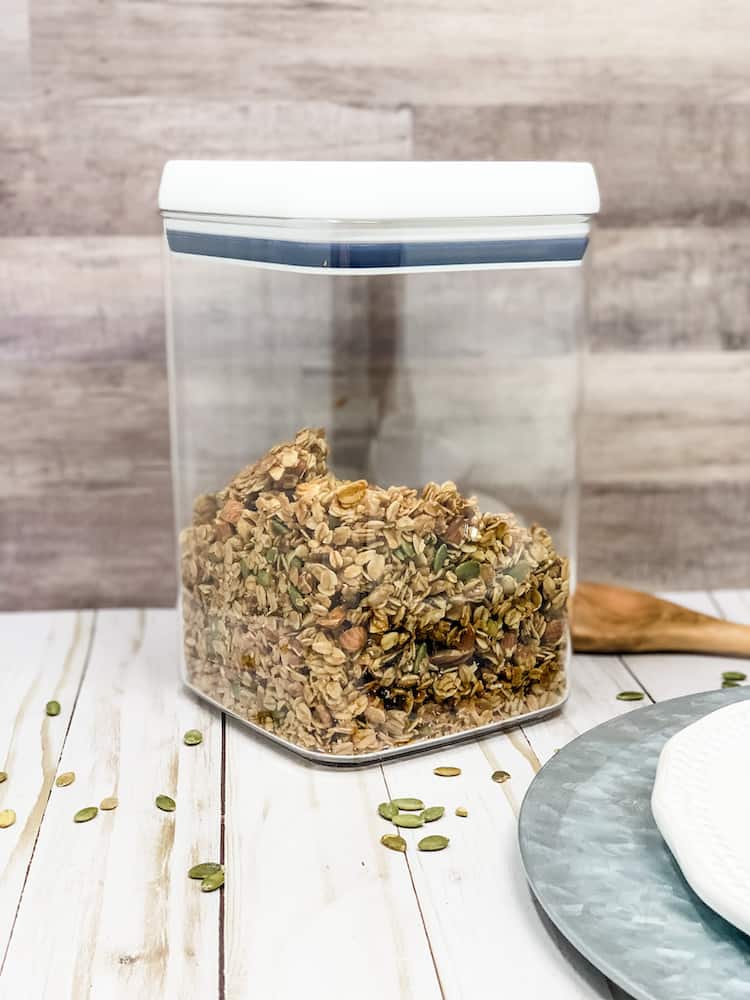
After it is completely cooled, you can scoop up your beautiful homemade granola and place it in an airtight container for storage.
If you used parchment paper or a silicone mat, then scooping will be no problem. If, on the other hand, you baked your granola directly on the baking sheet, you may find that you’ve just taken up a new hobby of swearing at inanimate objects… as the honey will surely have stuck everything to the pan. 😂 Good luck.
Enjoy your Healthy Homemade Granola!
There are so many ways to enjoy your healthy homemade granola.
Obviously, you can eat it straight up in a bowl with some milk. (I love adding pomegranate seeds or fruit to this. Yum!!)

But you can also sprinkle homemade granola on top of some delicious yogurt (like our homemade greek yogurt), use it as a topping on an apple crisp dessert, or even add it to a fresh salad! (Think strawberry spinach with sprinkled granola on top!) It’s so versatile!
What’s your favorite way to eat it?
So if you enjoy granola, give this healthy homemade granola recipe a try. You will not regret it.
Self-Reliant Tips
This recipe is very conducive to adding to your ‘food storage’ pantry due to the fact that just about all of these ingredients store well. I love that I can keep enough ingredients on hand so that even when grocery store supplies run low, I can still make ‘cereal’ any time I want it! 😉
Here are a few storage tips related to this recipe:
- Oats will last for a VERY long time (up to 30+ years) when properly stored, so we keep several 5-gallon buckets of oats stored away so that we have plenty of this power-house staple on hand. If you can, use a mylar bag with an oxygen absorber in your bucket to help prevent/deter a bug infestation. Seal well and store in a cool, dark location in your home. (PS. If you cannot find oats to buy in bulk that are already sealed, you can purchase your own food grade buckets and lids, mylar bags, oxygen absorbers, etc. to store the oats.)
- Honey is another food staple that will basically last for-ev-er! Yes, it may crystalize (especially if it’s raw/unfiltered honey), but you can always warm it up to break those crystals down and liquidize it again. We keep several gallons of honey on hand so that we never run out and have plenty for a rainy day. (PS. I totally recommend finding a local source for raw honey!)
- Nuts and oils don’t last as long because the oils can go rancid. So to keep these ingredients on hand you’ve got to be actively rotating through them. (PS. if you keep the nuts in the freezer, they will last for a very long time.)
- And for a final tip… try growing your own berries at home! This year we are planting blueberries and blackberries! And I may even talk hubby into a pomegranate tree as well (although I hear those can be a bit finicky). I can’t wait to be able to top my homemade granola with our own farm fresh berries!!
Shop This Post
- Baking sheets
- Silicone baking mats
- Options for buying oats in bulk: here (Amazon- in pail), here (Honeyville- in bag), here (Amazon- in bag)
- 5-gallon food grade buckets w/ lids
- Gamma seal lids (for 5-gallon buckets)
- Mylar Bags (with Oxygen Absorbers) for 5-gallon buckets
Save This Post for Later


Healthy Homemade Granola
This healthy homemade granola is packed with nutrition for a delcious and nutritious start to your day!
Ingredients
- 4 1/2 cups old-fashioned rolled oats
- 1 1/2 to 2 cups nuts/seeds (see notes)
- 1/2 cup unsweetened shredded coconut
- 1 tsp sea salt
- 1 tsp ground cinnamon
- 1/2 cup coconut oil, melted
- 1/2 cup honey
- 2 tsp vanilla extract
Instructions
- Preheat oven to 350 F and line a large rimmed baking sheet with parchment paper (or use a silicone lined baking mat on the baking sheet).
- In a large mixing bowl, combine the oats, untoasted nuts and/or seeds, unsweetened shredded coconut, salt, and cinnamon. Stir to blend.
- Pour in the coconut oil, honey, and vanilla. Mix well, until ever oat and nut is lightly coated. Pour the mixture onto your prepared baking sheet and spread it into an even layer.
- Bake for 20-24 minutes (until lightly golden), stopping half-way through to stir the mixture and add any of the nuts/seeds that were already toasted (see notes). Remove from oven and allow to cool. (The granola will continue to crisp up as it cools.)
- Allow the granola to cool completely (about 45-60 minutes) and then scoop the granola into an air tight container to store. Store at room temperature for 2-3 weeks or so. (You can also store it in a freezer bag for longer-term storage.)
Notes
- For the nuts, I use 3/4 cup almonds (chopped), 3/4 cup pecans (chopped), and 1/2 cup pepitas.
- If any of the nuts/seeds are already toasted, you will want to wait to add these to the granola mixture until it has already baked for half of the allotted time. If you bake them the full time, you risk burning them or making them bitter.
- For chunky granola, press the granola firmly in place to compact it after you have stirred it at the half-way point in baking. Then make sure you let the granola sit undisturbed for the full amount of time it takes for it to cool.

I haven’t made granola in forever, but you’ve inspired me to start again! These recipes look delicious. Thanks for sharing!
Aww, thanks Jenny! I hope you enjoy it. I actually JUST finished eating a bowl of it for breakfast. I love it.
Wow, this looks great! I haven’t tried making homemade granola yet, but this inspires me to try some very soon. Thanks for all the info, especially the cleanup tips!
This sounds so good! Thank you for sharing!
Thanks so much for the reminder to make delicious granola! I’ll be trying your recipe soon.
Can’t wait to try! I love mixing granola with coconut yogurt.
Ooo, Wendy! Coconut yogurt sounds super yummy!
Wowzers this looks gorgeous! I LOVE granola so much and this recipe looks fabulous!
Looks incredible! It’s been a while since I made my own granola and I’m totally inspired! Thanks
I was just experimenting with granola the other day! Will definitely be trying this recipe next.